

I am not a fan of leather working. Until now I always bought my shoes for living history. For medieval periods there are some good off the shelve options with a turn shoe construction. For a new portrayal I needed shoes from 200AD for a local resident of the Limes (the roman northern border) in the Netherlands. These shoes could not be found in an easy off the shelve option. I had little time and no funds, so I needed to make them myself. Joy!
Part one is researching the type of shoe I wanted. There are some excellent books on archeological footwear that are readily available. One of the most elaborate books is Stepping Through Time from Olav Goublitz. In the back is a whole section on roman footwear. I found the pattern of a lovely closed shoe type that is also found with a turn shoe construction next to nailed soils which is very common in the roman period.
I need to make my own pattern and first I made the soles. The sole needs to be made from a thick and sturdy leather. This is just putting your foot on the leather and drawing a line around your foot. I cut this out and with the sole under my foot I put on an old worn sock. I taped the sock to get the form of my foot. From this taped sock I cut out the pattern parts needed. These parts are then cut out from leather.

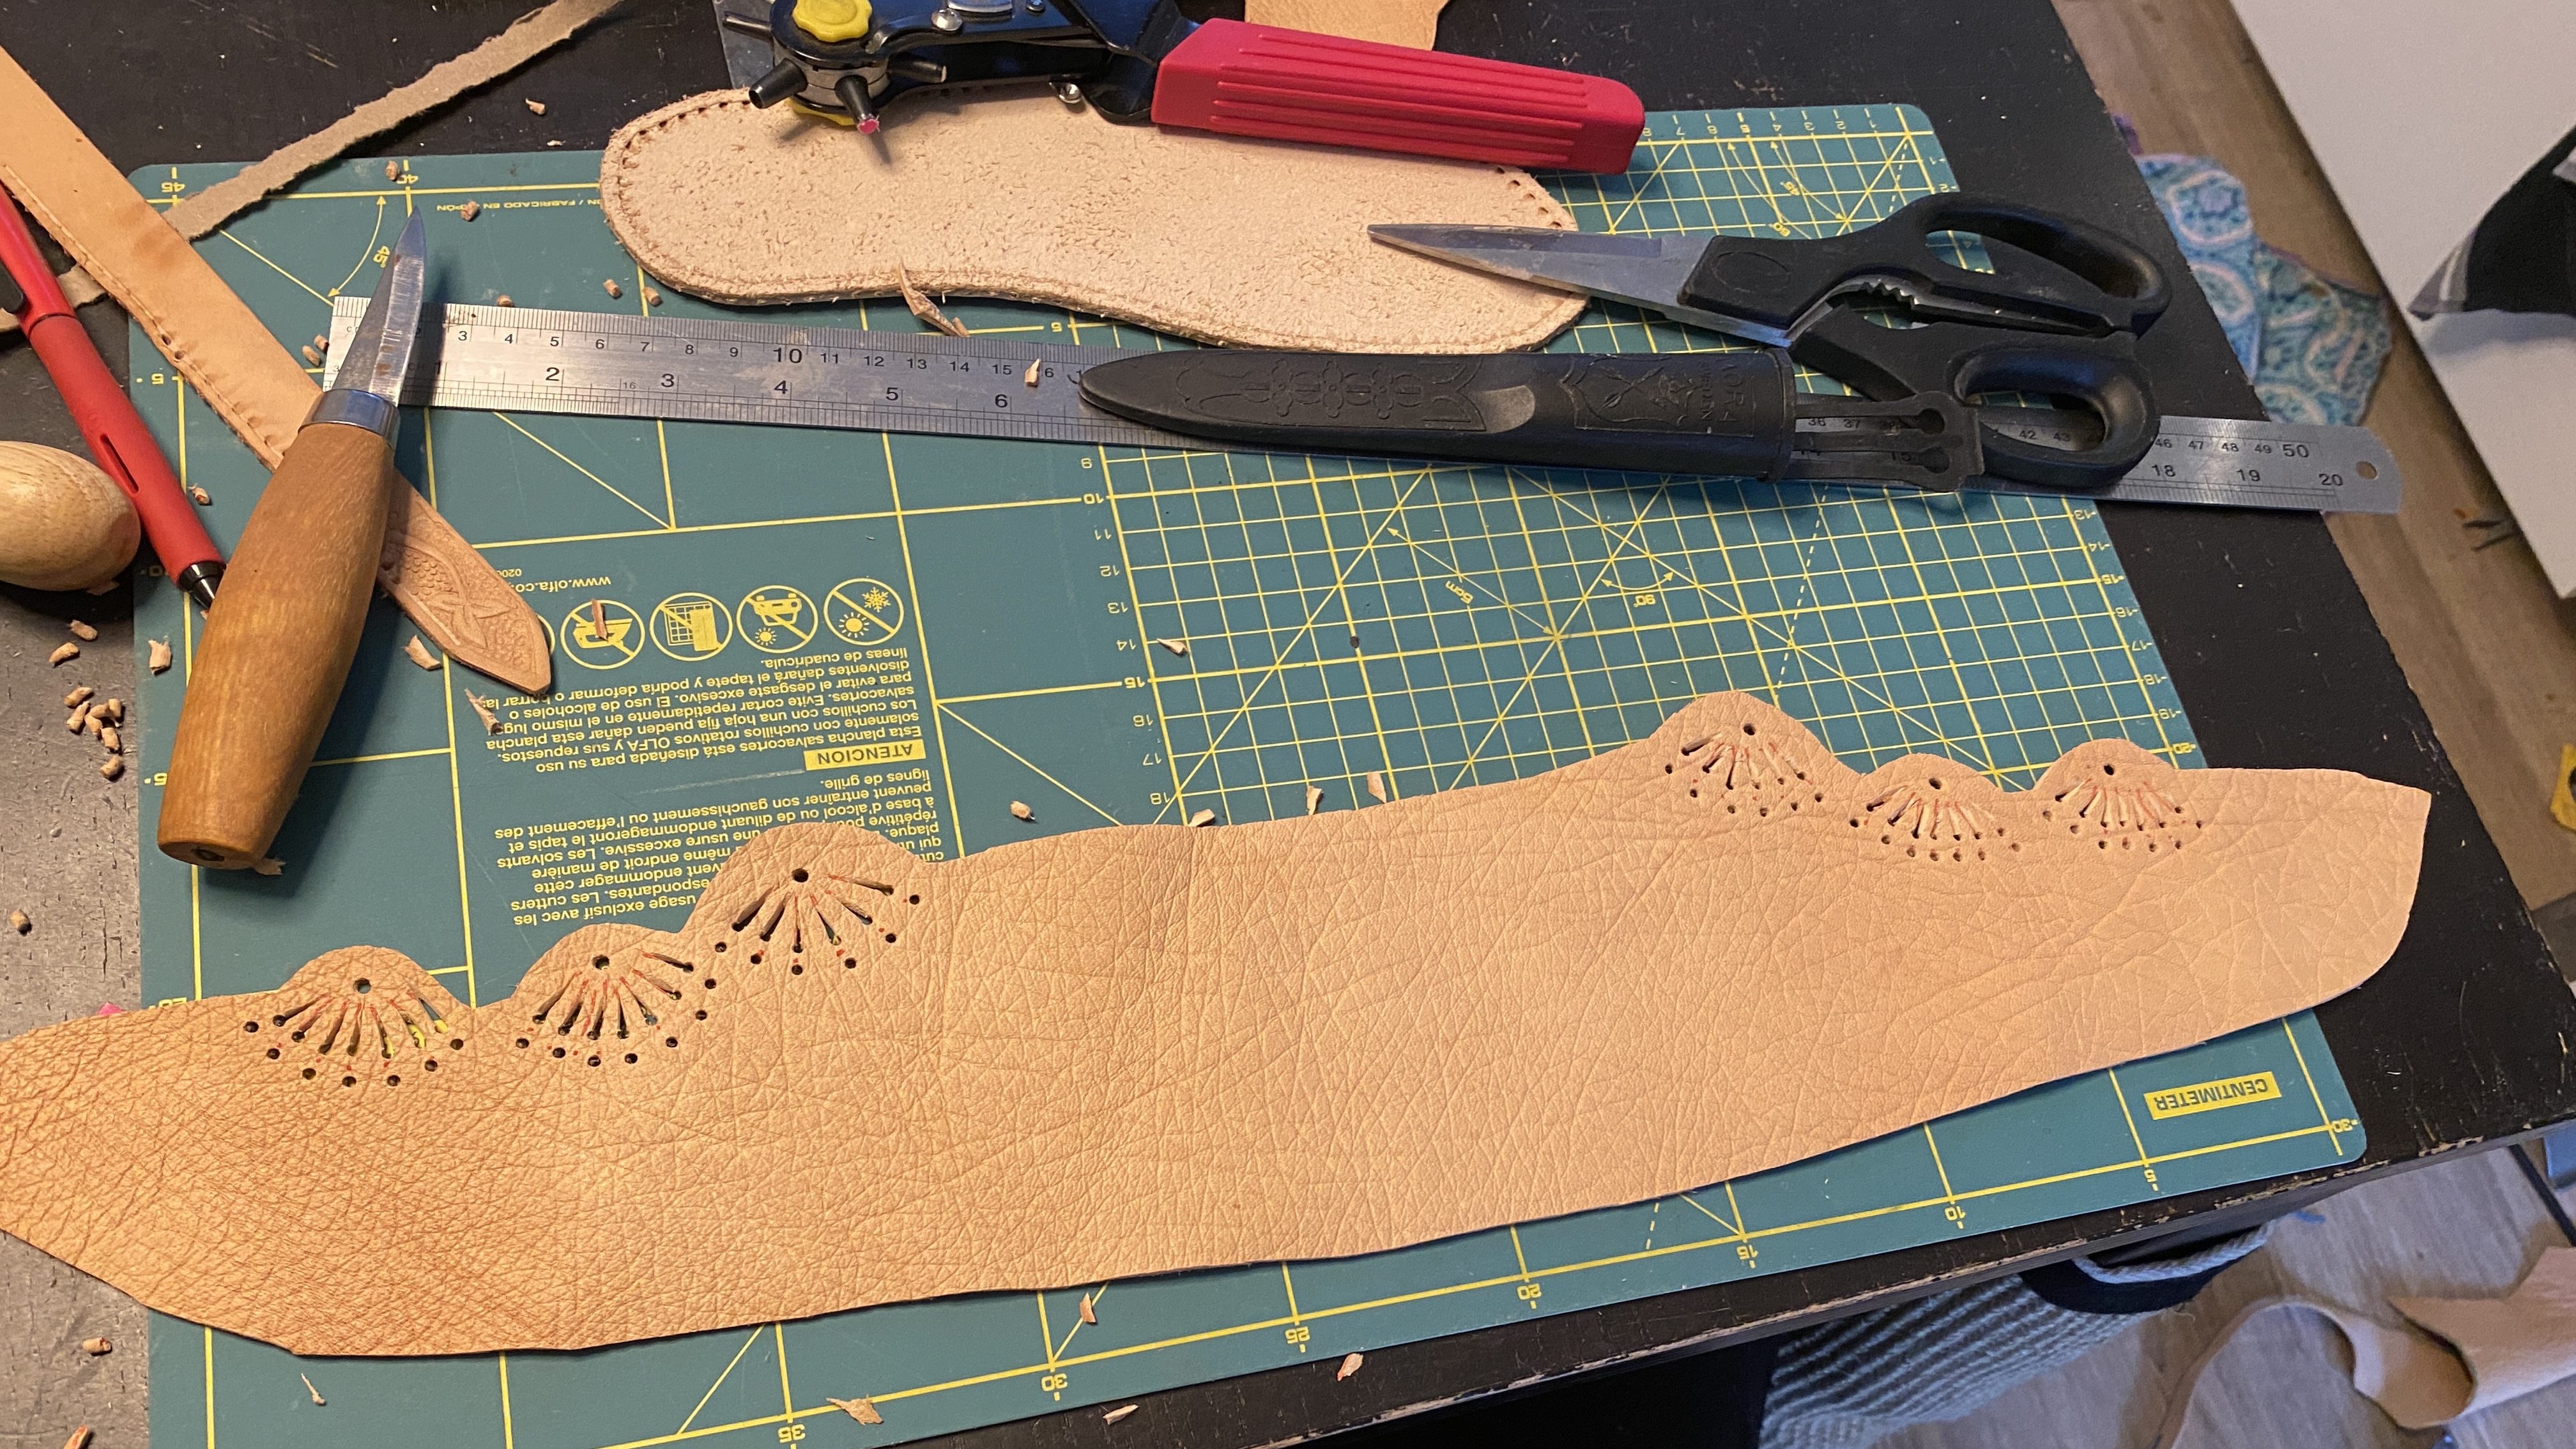
The shoe I was making has an ornate cut out pattern in the leather. I did this with a sharp knife. I practiced this on scrap parts before doing it on the pattern parts. (this is always a good idea when trying out a new technique) There are punch outs available on the market that would make it more easy then cutting.
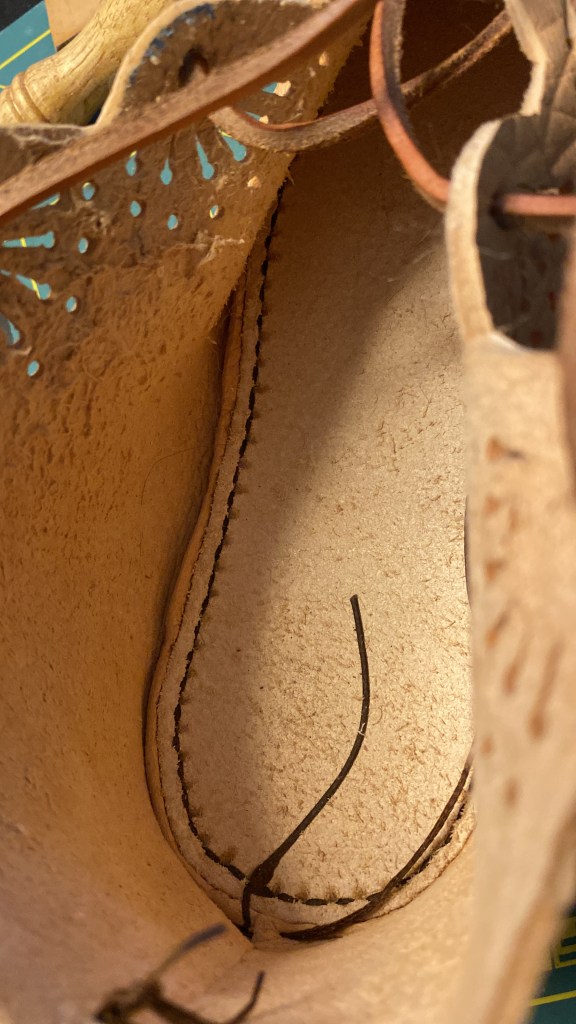
The name turn shoe describes the shoe type quite nicely You sew it inside out and then turn the inside on the outside of the shoe back in. For the sole made from thick leather this means you need to make sewing holes that start on top of the leather but end at the side of the leather.


Proper tools are important here. With a stitch groover I made a parallel line to the edge of the sole for stitches. A wheel pricker makes small markers along this line so your stitches are nice and even. The curved awl is used to make the holes. There are much more leatherworking tools that can make your life easier.
When all holes are made you can just start sewing. Stepping through time has some excellent images showing all the type of stitches that are used with historical leather working. And after stitching you can wet the shoes and turn them. A bit of leather grease and voila I had working shoes!

